
This is my third interactive book app for children. The story is based on a personal experience while celebrating a birthday.
An interactive story
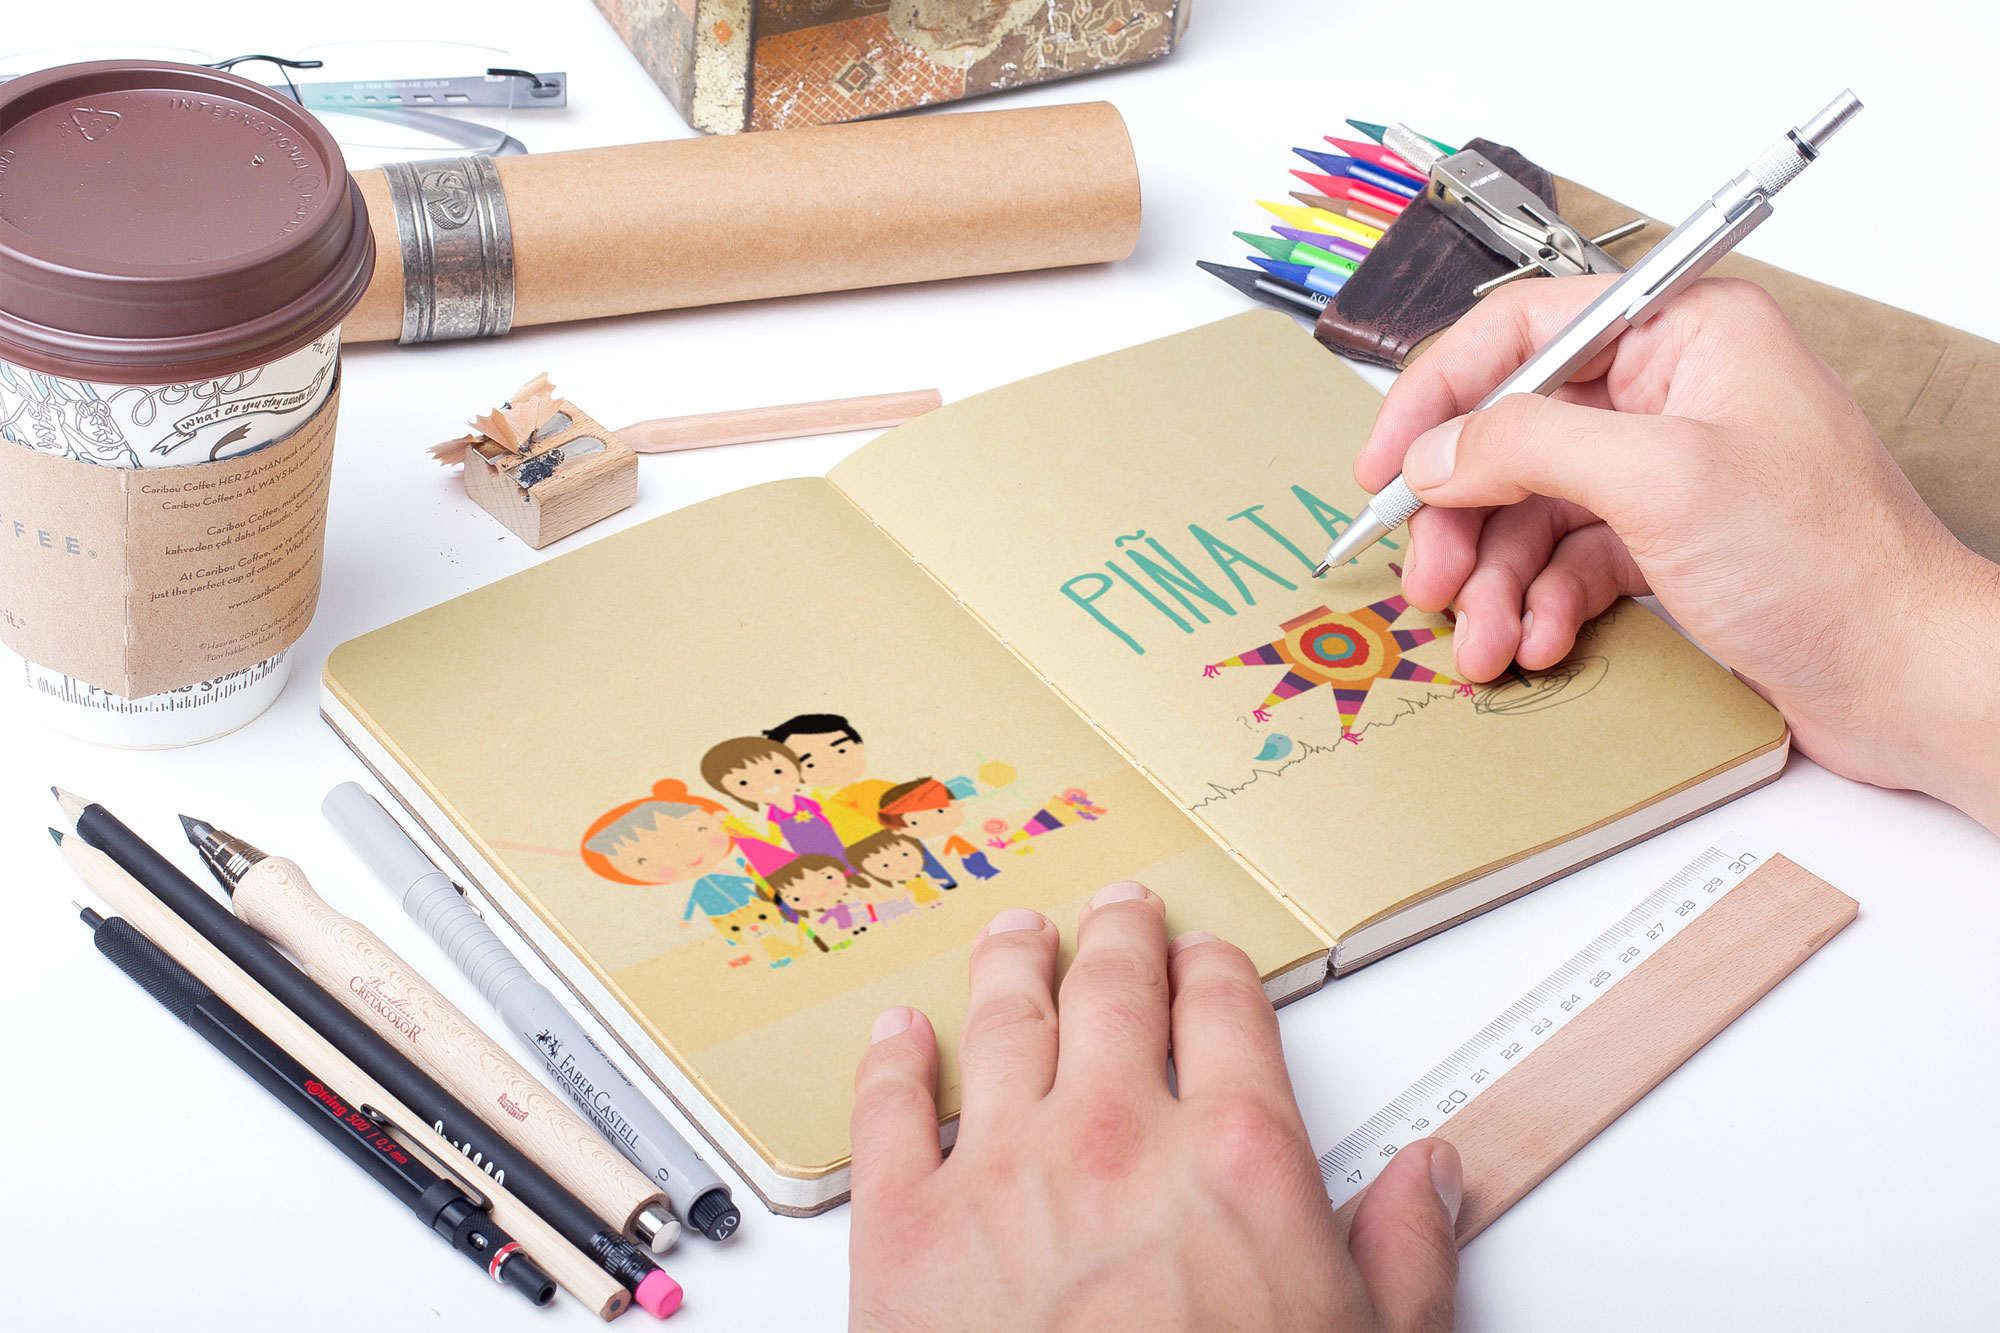
ABOUT THE IDEA
This interactive book is a personal project that I have wanted to do for some time. A short story about a girl – who wants a piñata for her birthday – and some of her friends as they get ready to celebrate and break the piñata. The hope was to capture a bit of that excitement you feel on your birthday party.
I wanted to make an interactive book for kids that had simple tasks that they could complete, as well as animations and interactive elements that could be fired when taping on some items. So I focused on creating an engaging experience that also told a simple story.
SKETCHING INTERACTION
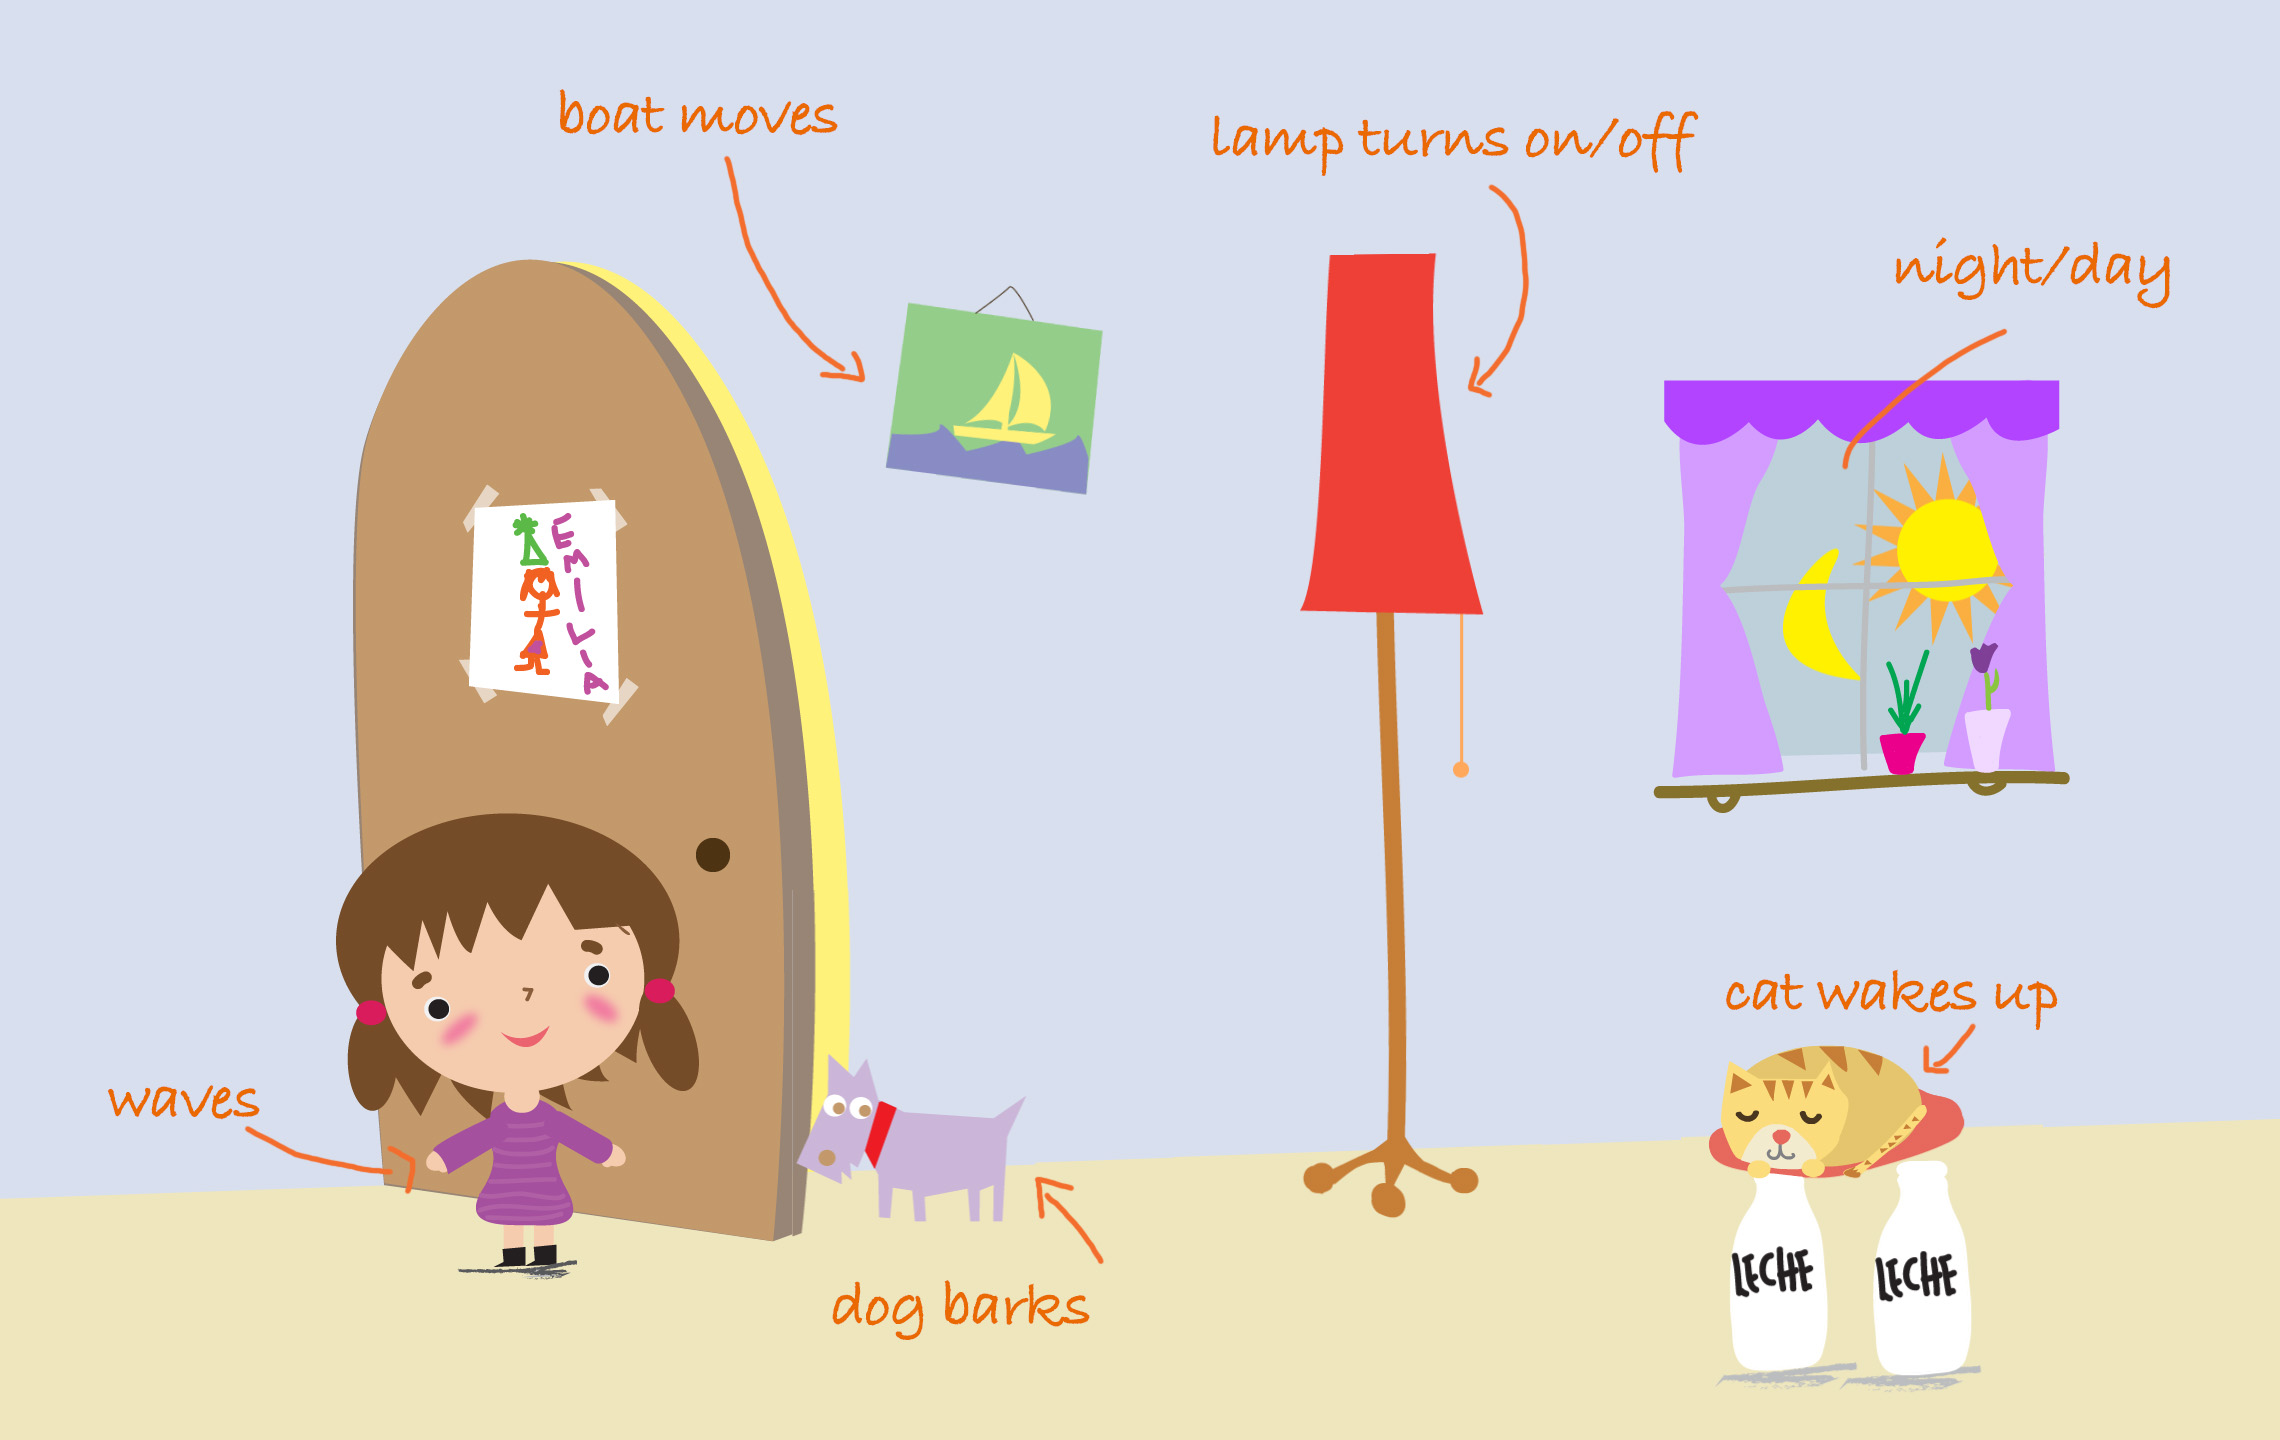
Sketching is central to design thinking and learning. By breaking things down, sketches help to attain the performance declared at the beginning of the design process. I decided I wanted a 12-page interactive book where the user could choose to read along with the book or not. I made a quick sketch to map out the user flow where I tried to put in all the features I was planning.
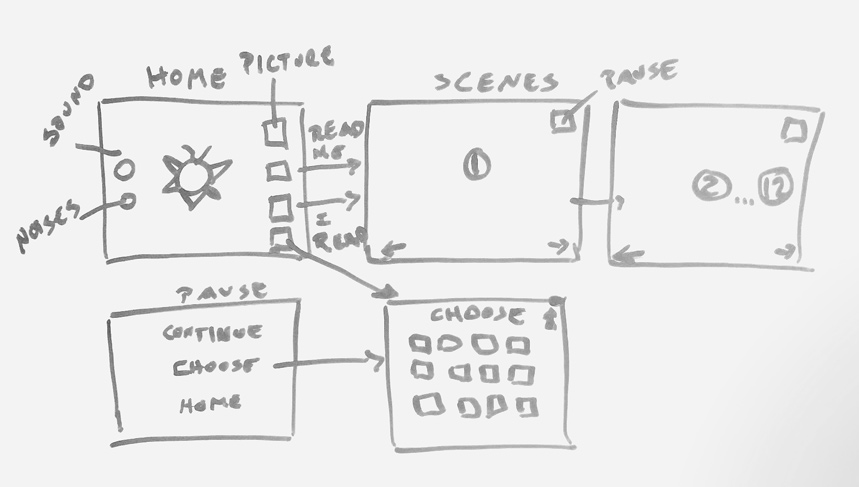
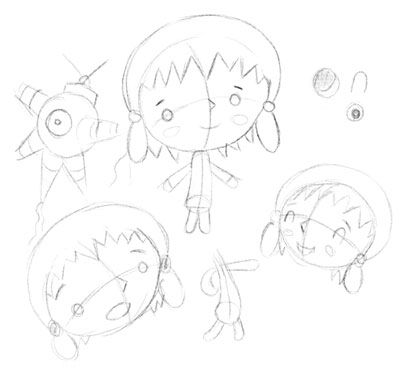
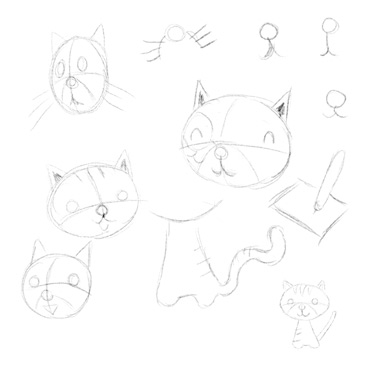
Sketching for interaction needs to be able to capture the essence of design concepts around transitions, dynamics, feel, phrasing and all the unique attributes of interactive systems. Designing apps for kids can be very different from designing for adults because kids often prefer chaos over control and prefer messy to clean. Below are examples of the concept sketches created as the ideas got flowing.
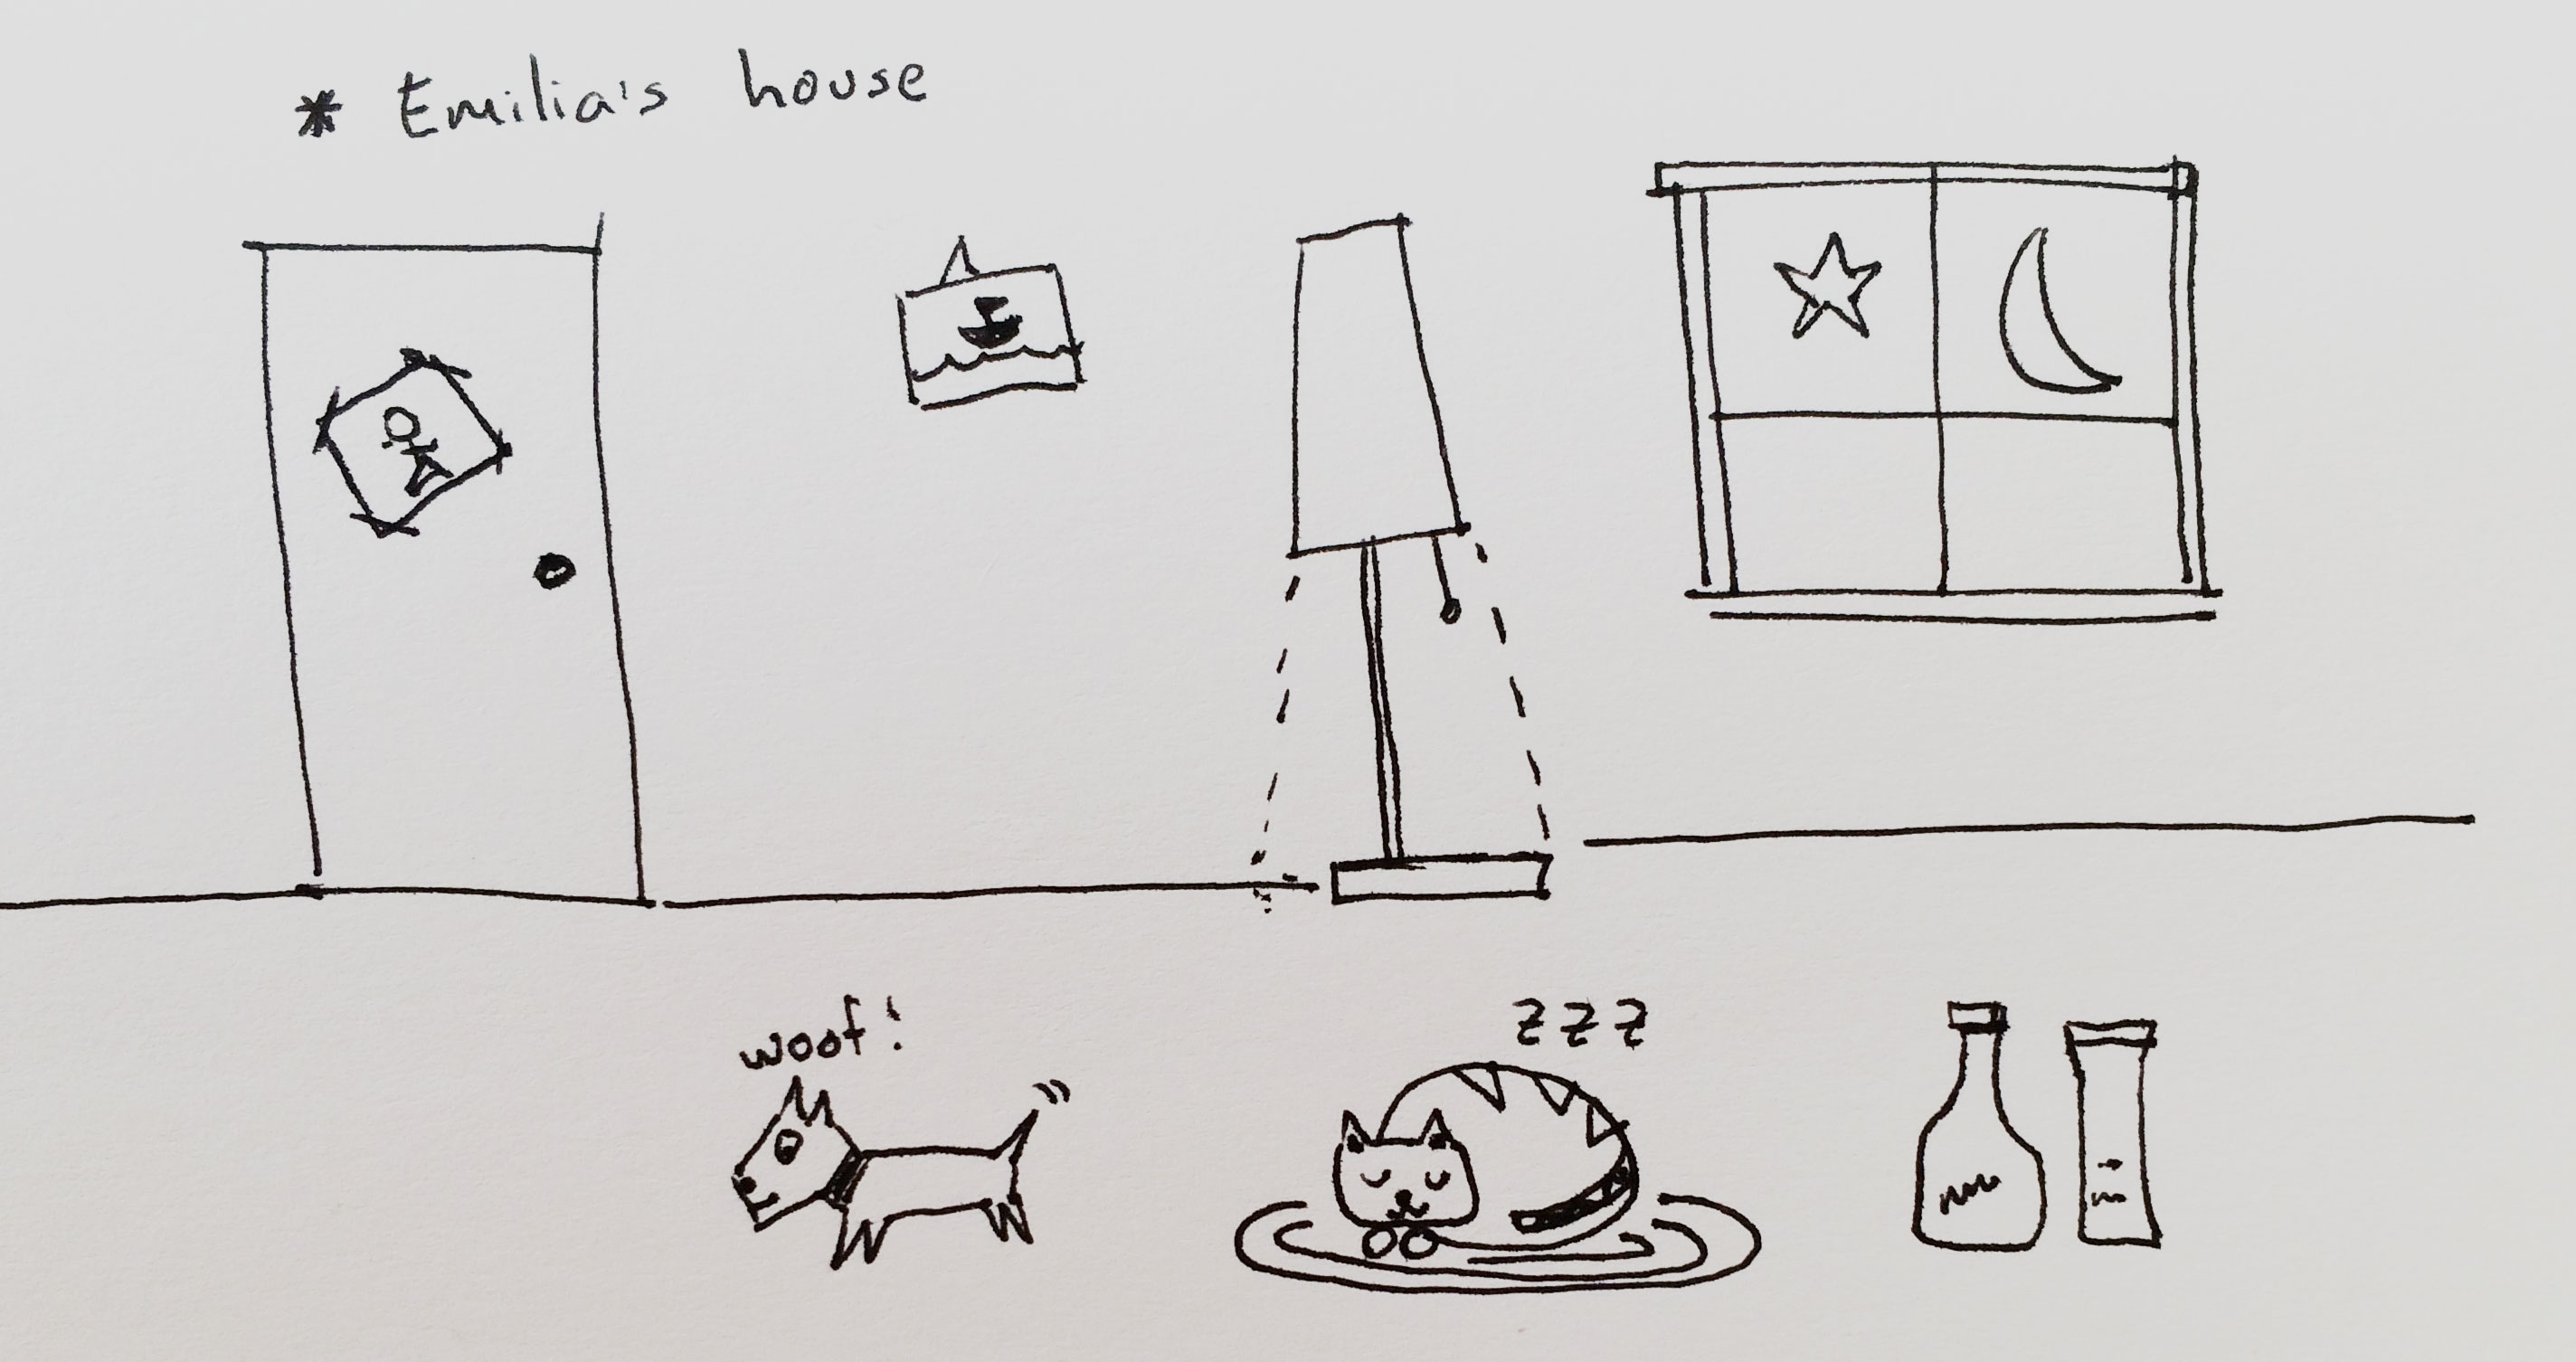
Followed then by a step-through including the interactions and some of the movements.
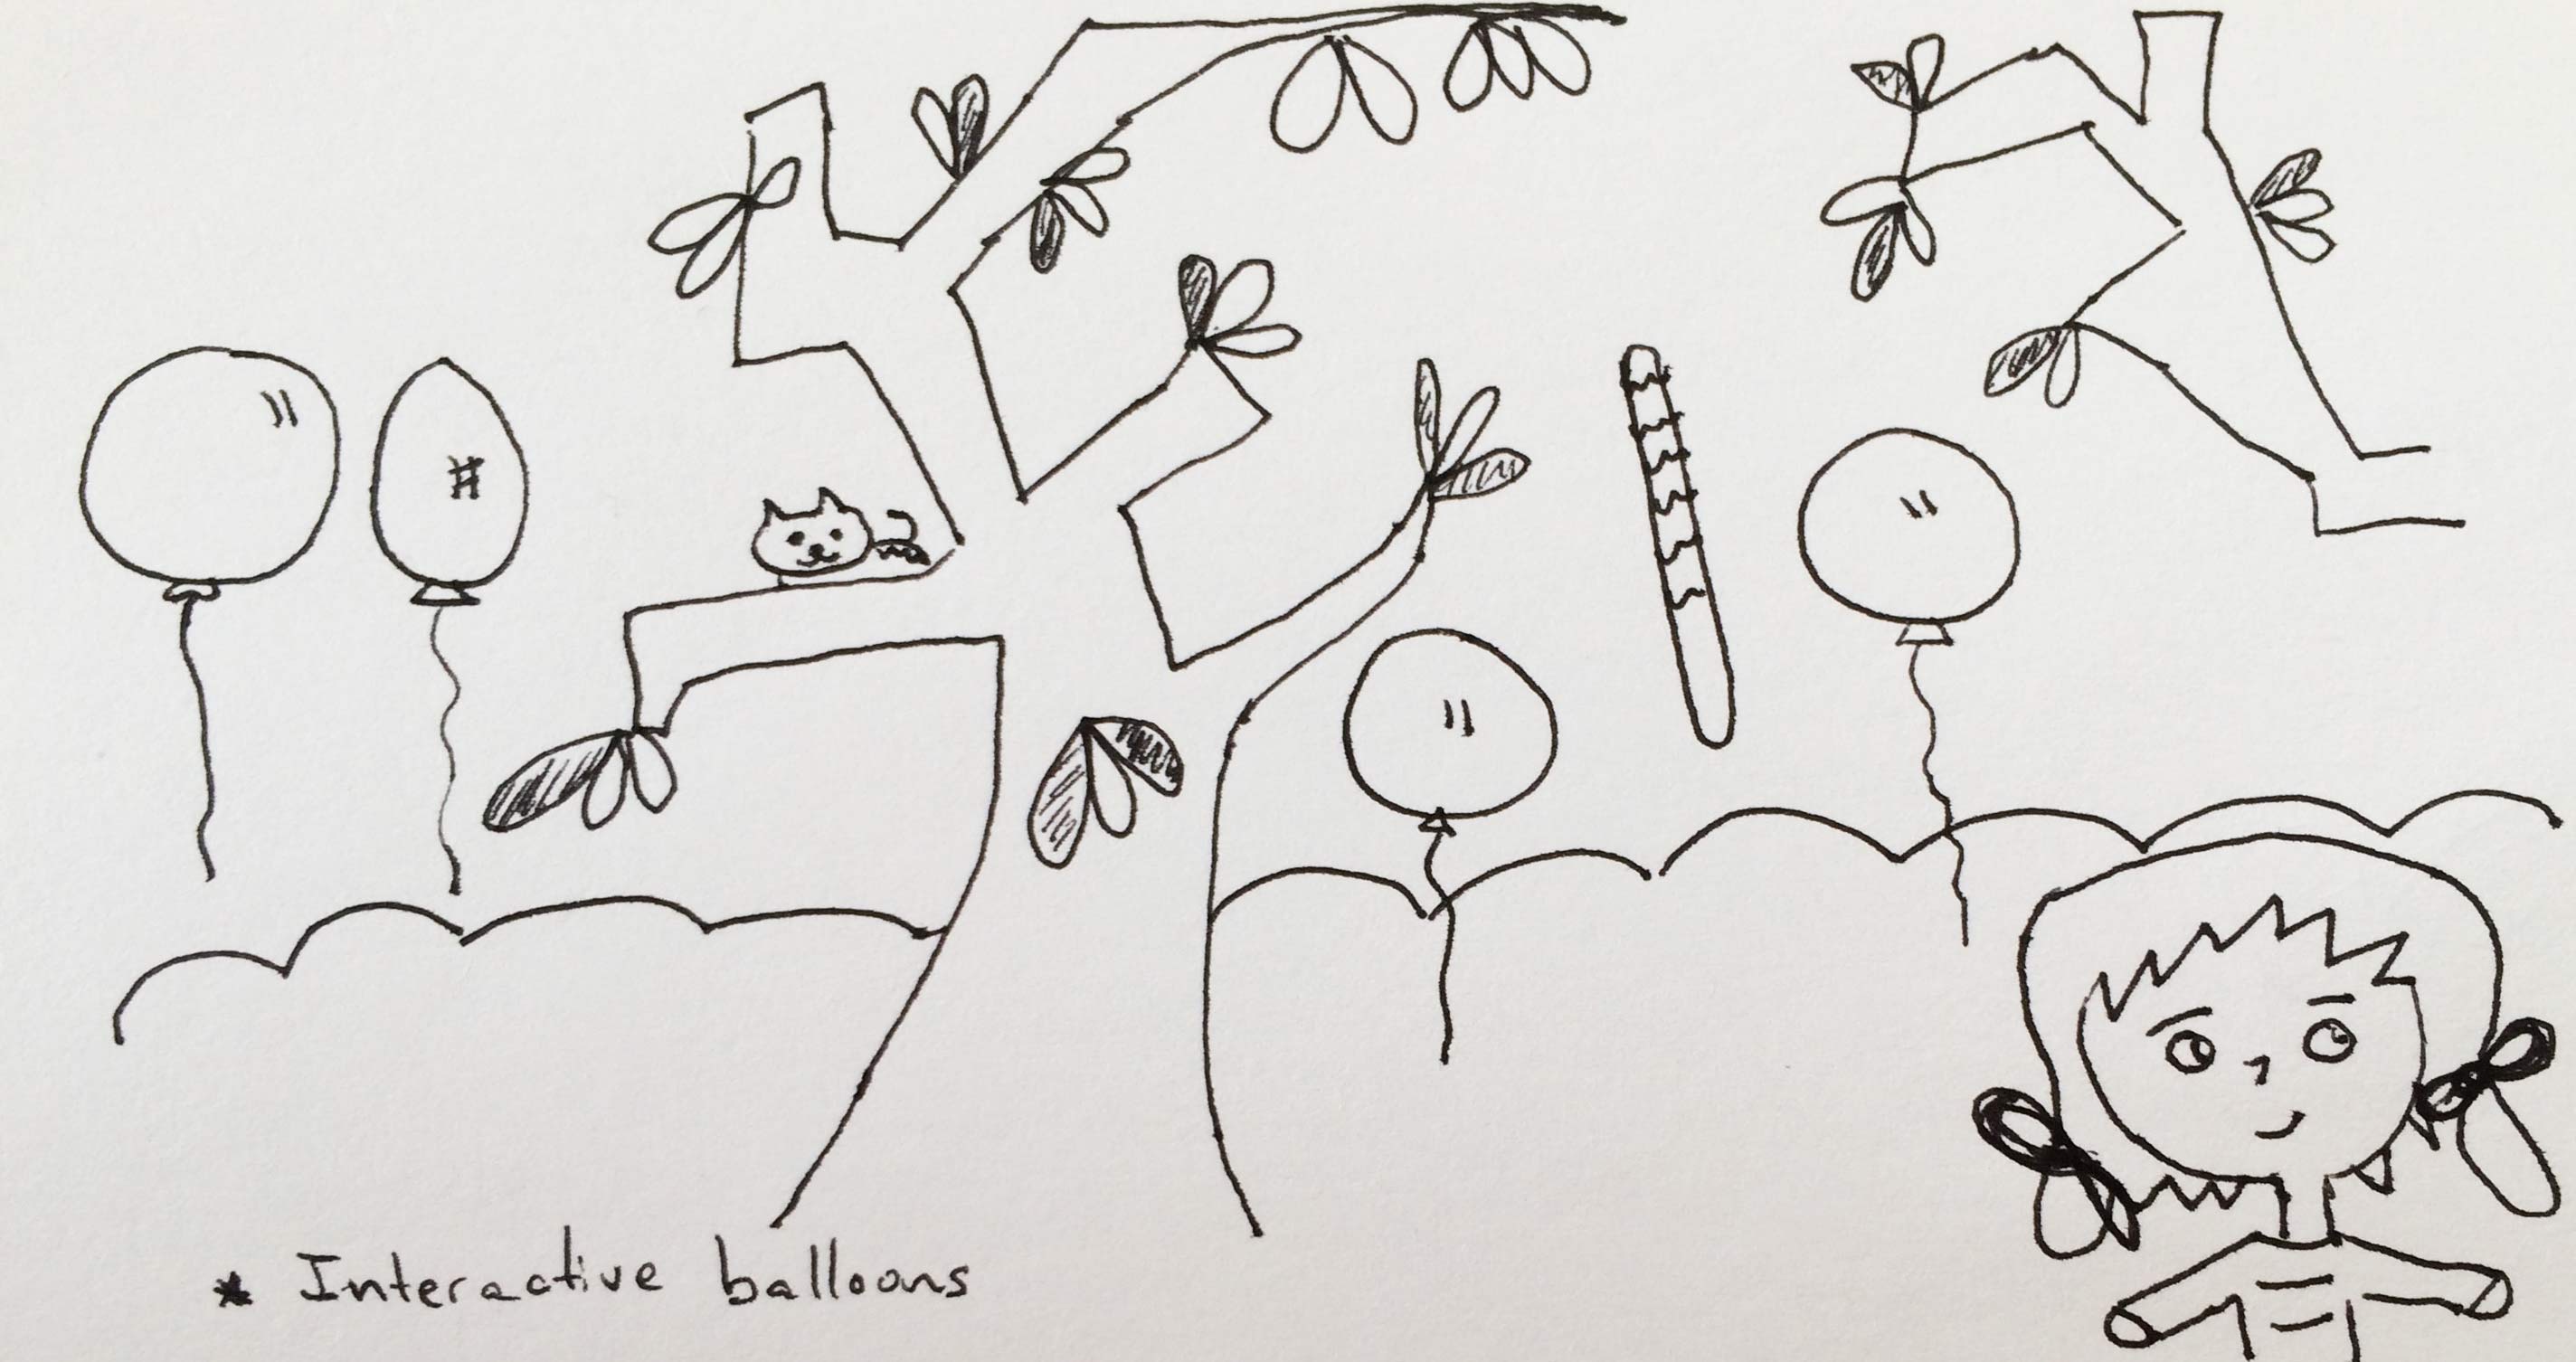
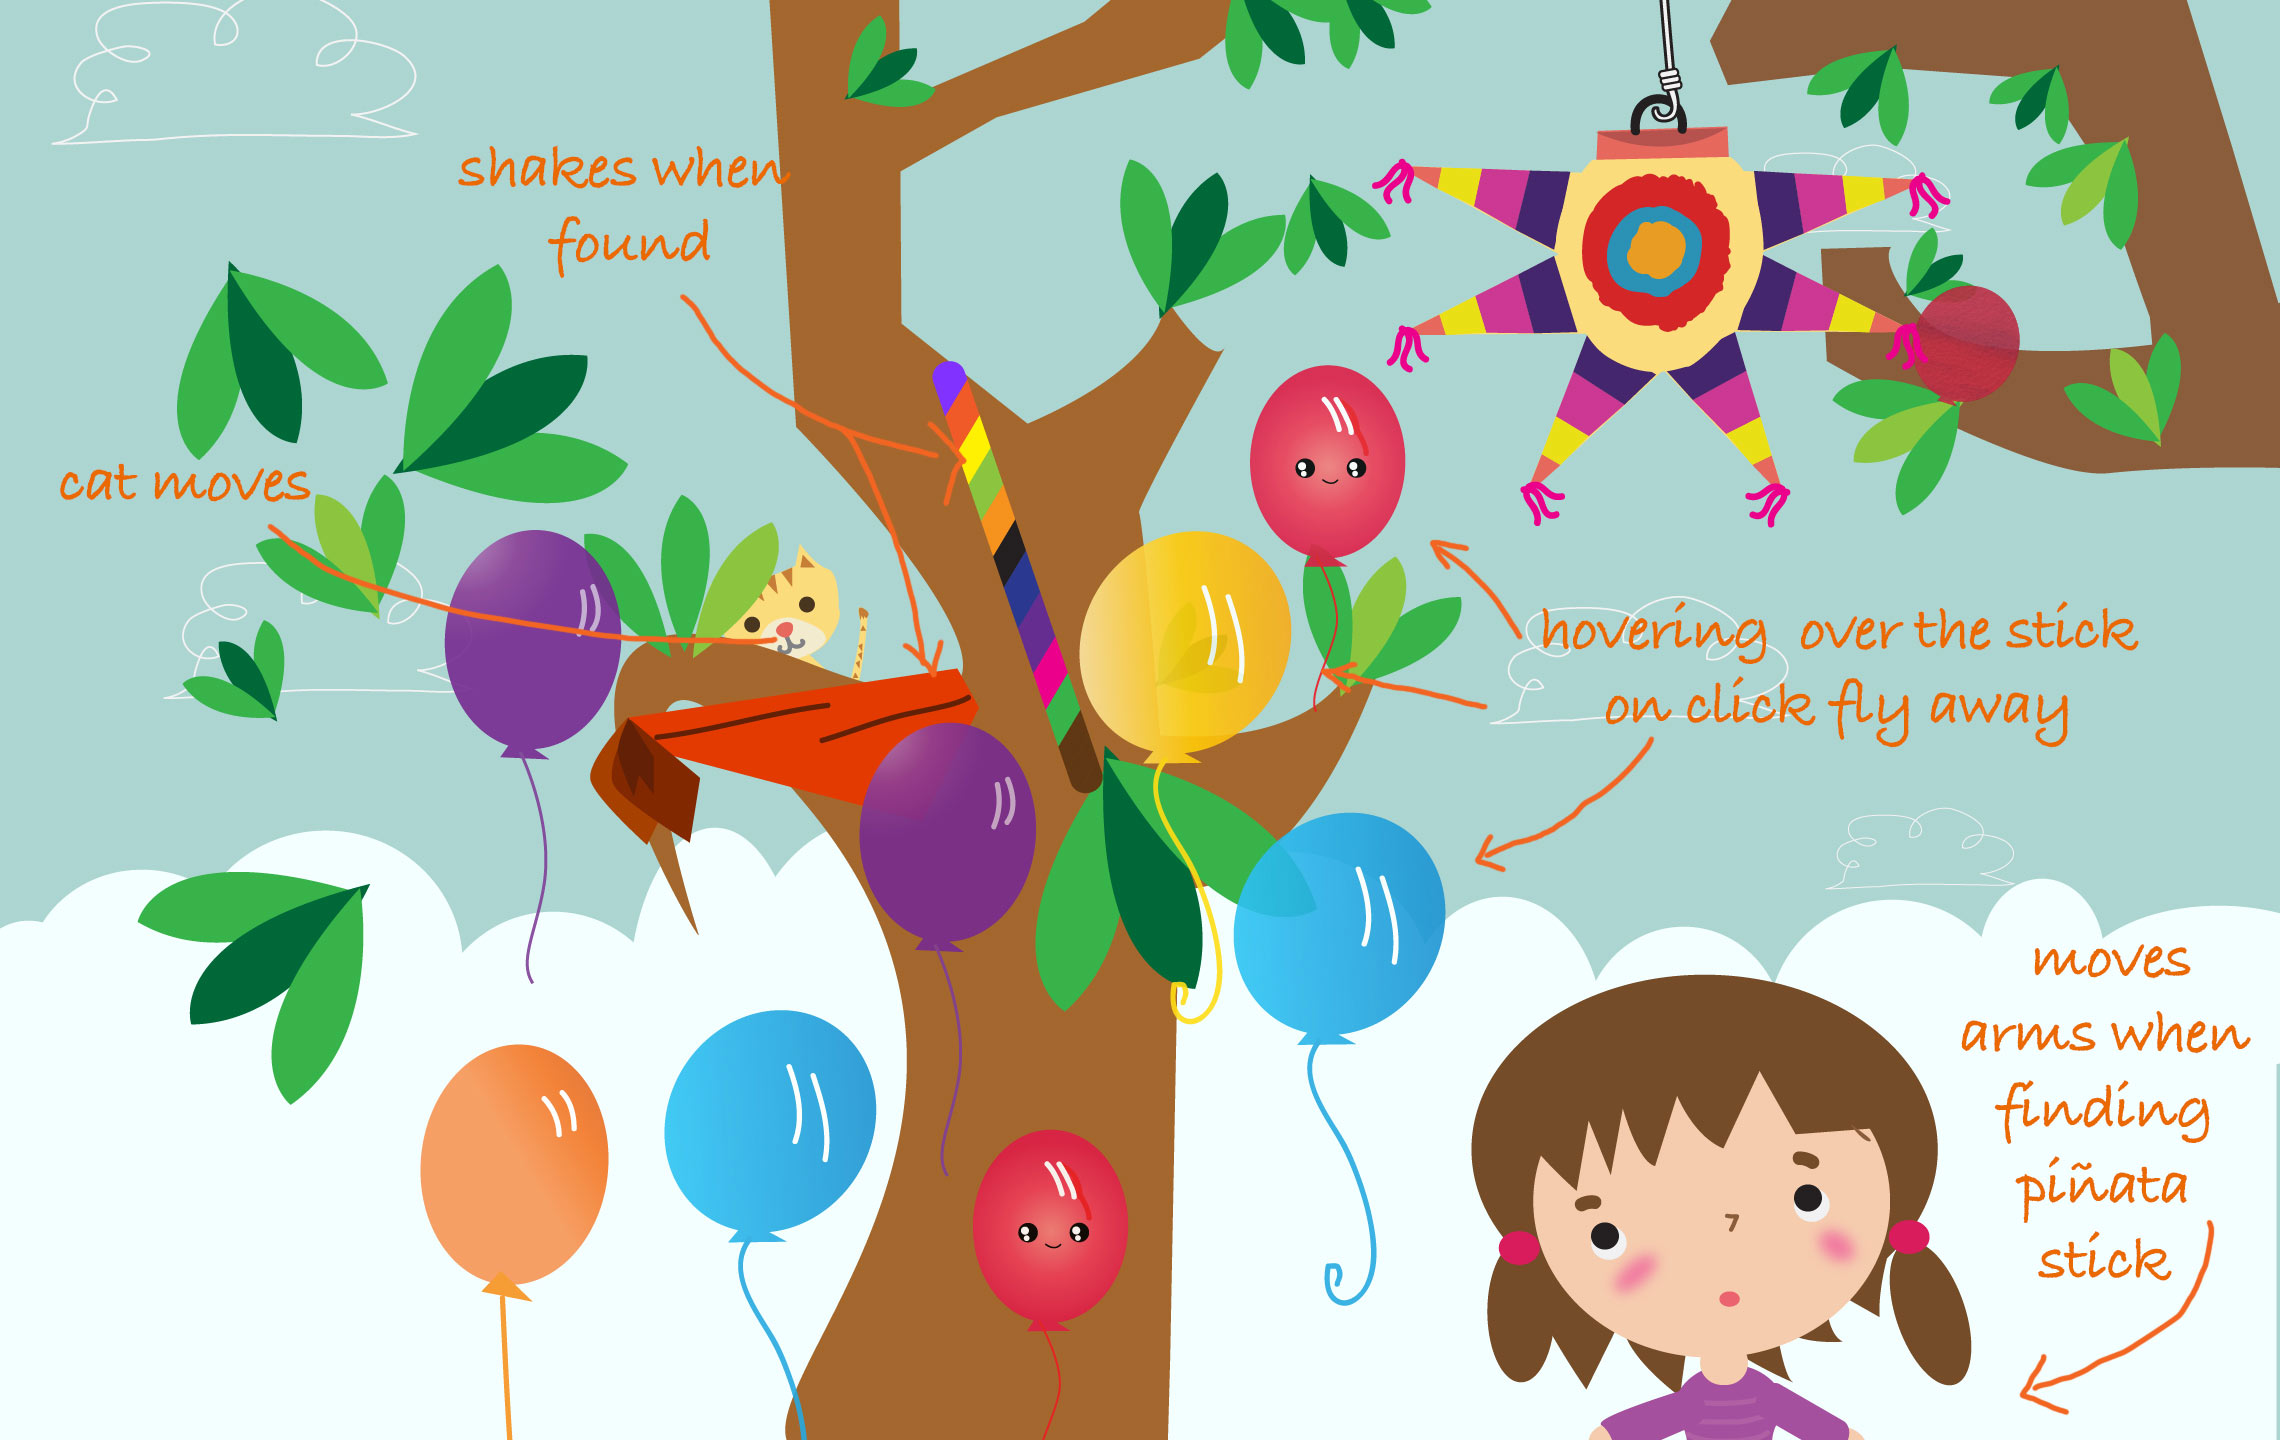
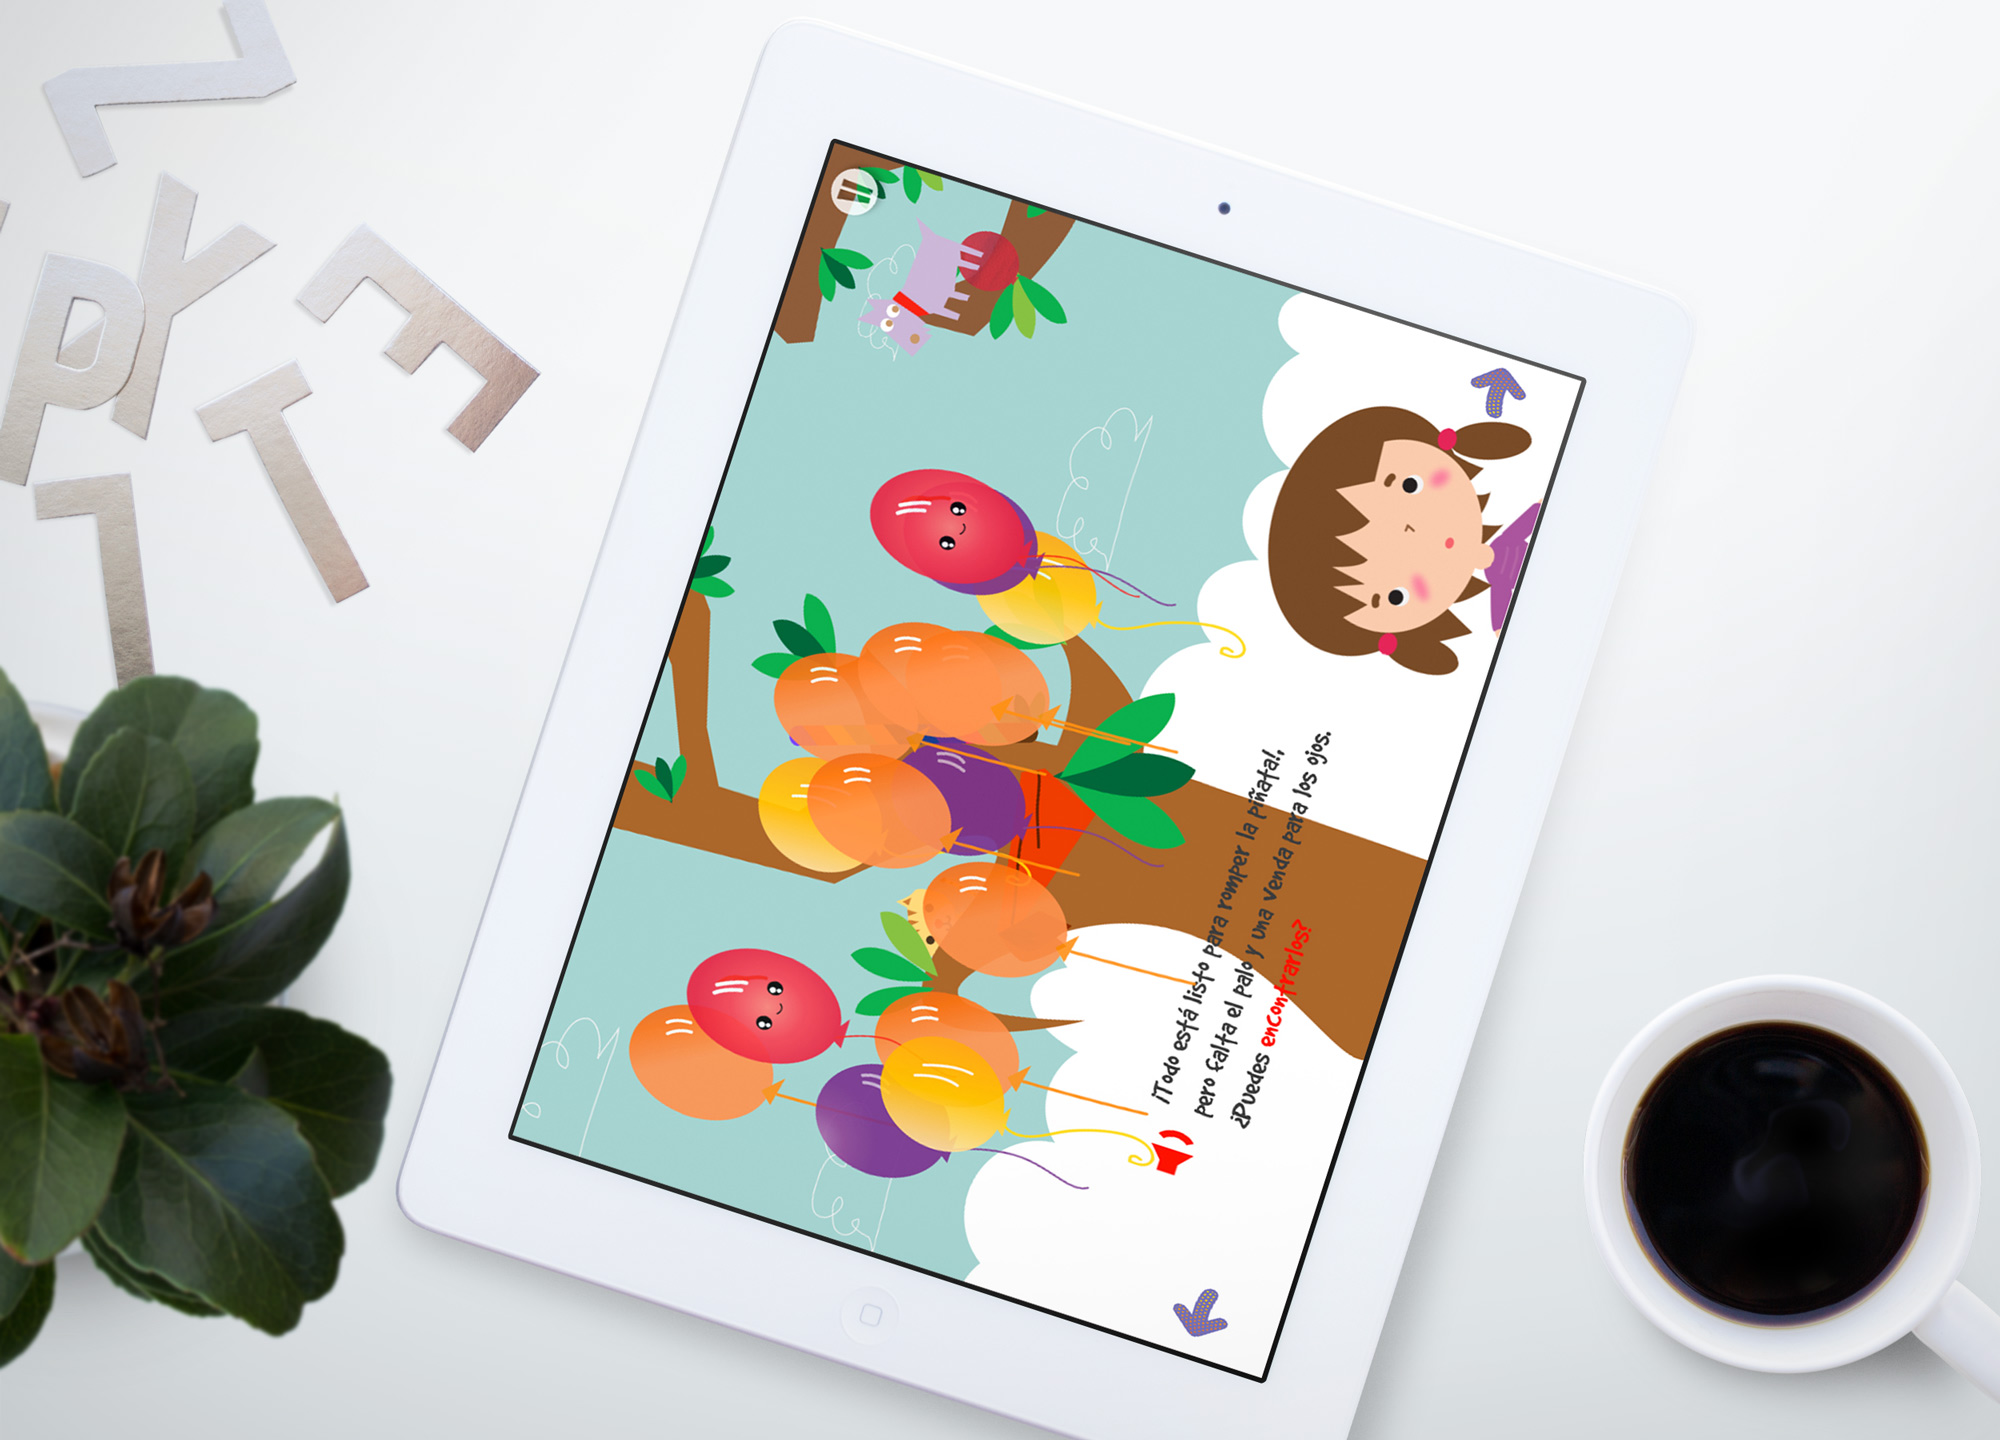
At this stage, it is also important to specify if the animation resulting from the interactions is going to be code based or if it is going to be made in After Effects and exported as a video. Many of the animations created were too complex to translate directly to code, so I had to rely on interesting approaches like combining code with the use of sprite sheets and MP4s. For example, the balloons were animated using code, while the animation of the girl waving her arms was made in After Effects and exported as an MP4.
THE ARTWORK
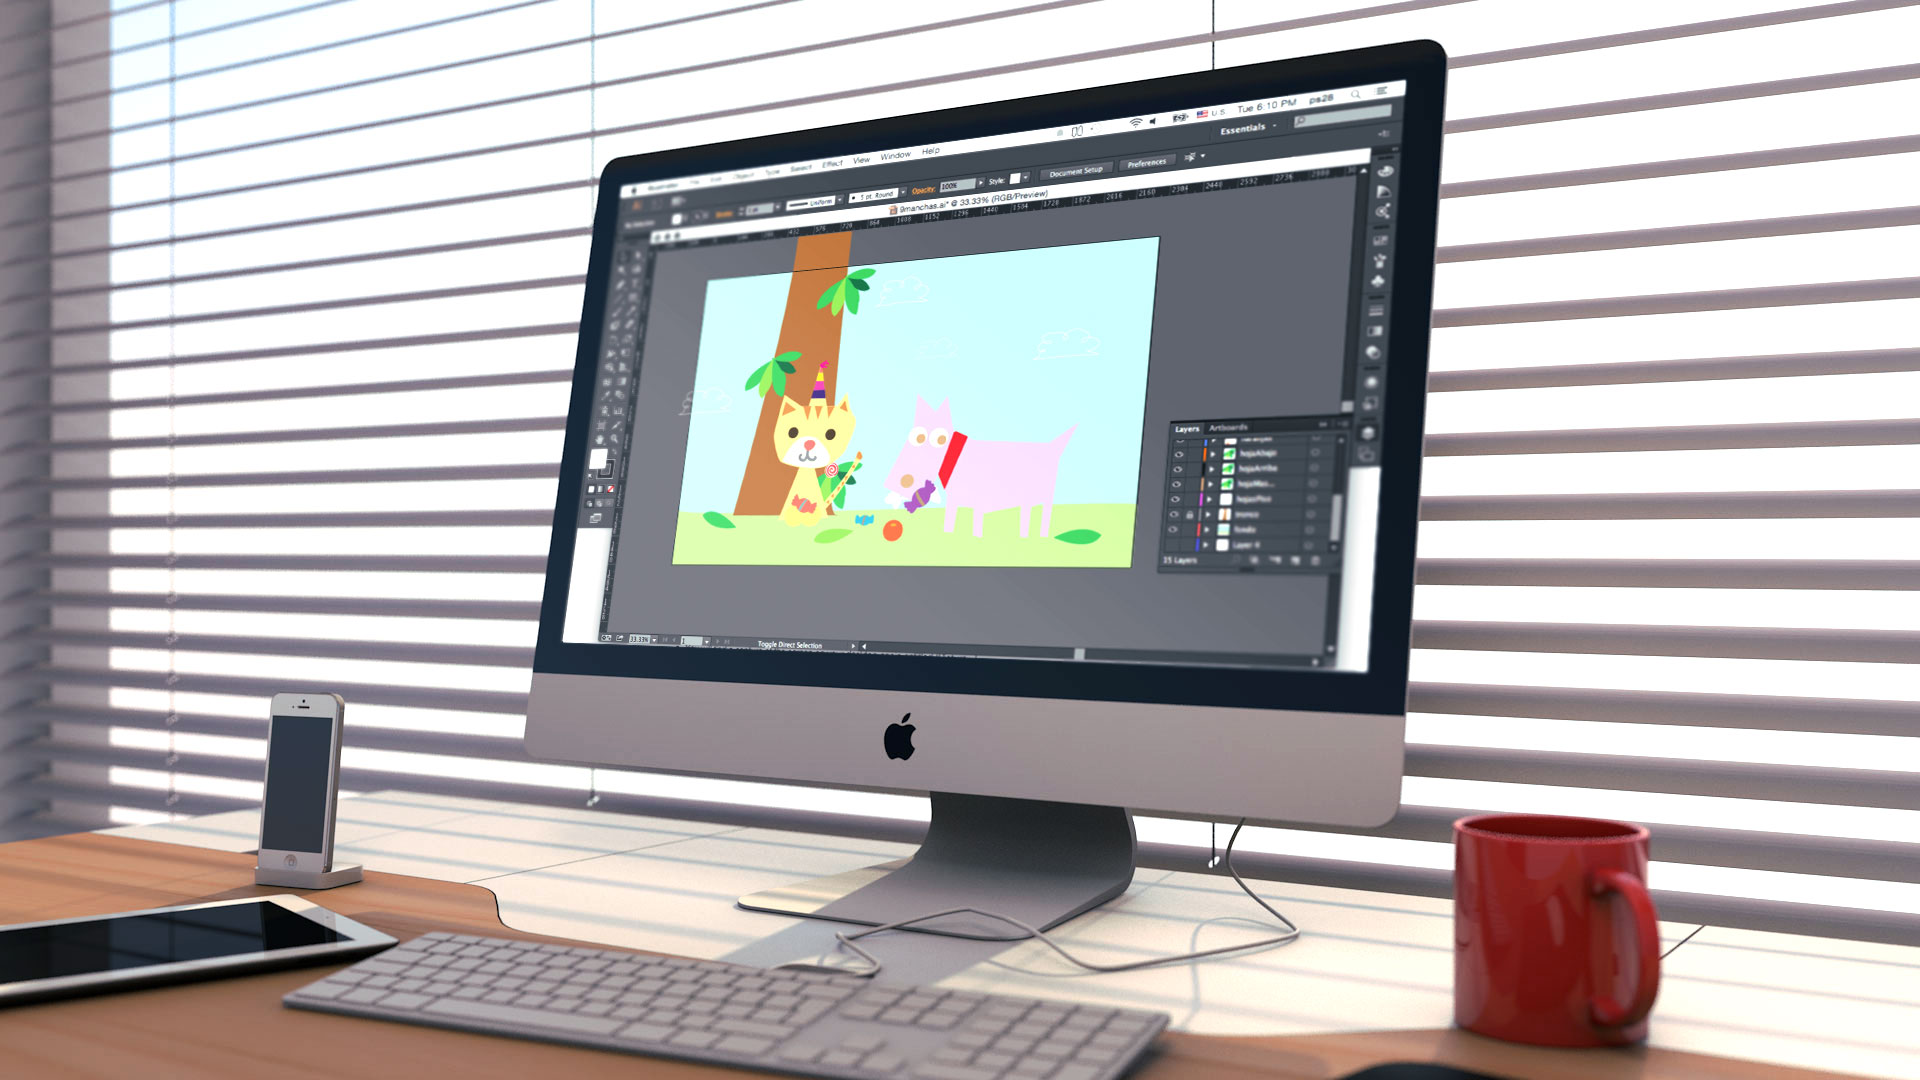
After the storyboards were finished, I traced and colored the final artwork in Illustrator. Each of the files was carefully named and separated into layers to prepare for the animation process in After Effects.
MAKING IT MOVE
After the artwork was finished, it was time to animate the individual scenes in After Effects. I key-framed each of the required animations inside a separate composition and exported them to individual movies.

CODING FOR INTERACTIVITY
I coded the app in Lua, using the Corona 2D Game Engine. A free, cross-platform framework ideal for creating games and apps for mobile devices.
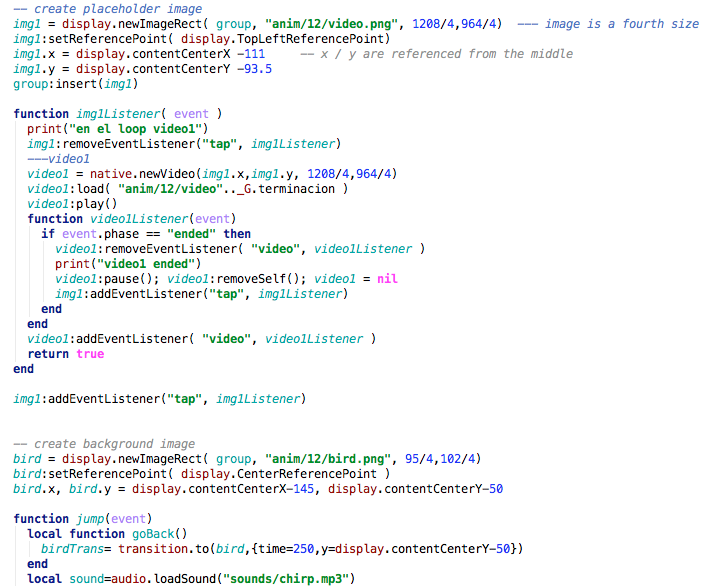
As the book was full of interactive surprises and animations, seamless integration of videos was crucial for making the project work. Interactions had to precisely alternate between certain images and movies to give the appearance of animation in the scenes.
Here is an example of code that adds a tap event listener to an image named img1. The video will be played when the event is fired. To replace the video again with img1, an end listener is added to the video player. When it fires, the video is removed and the static image is presented again on top of the artwork.
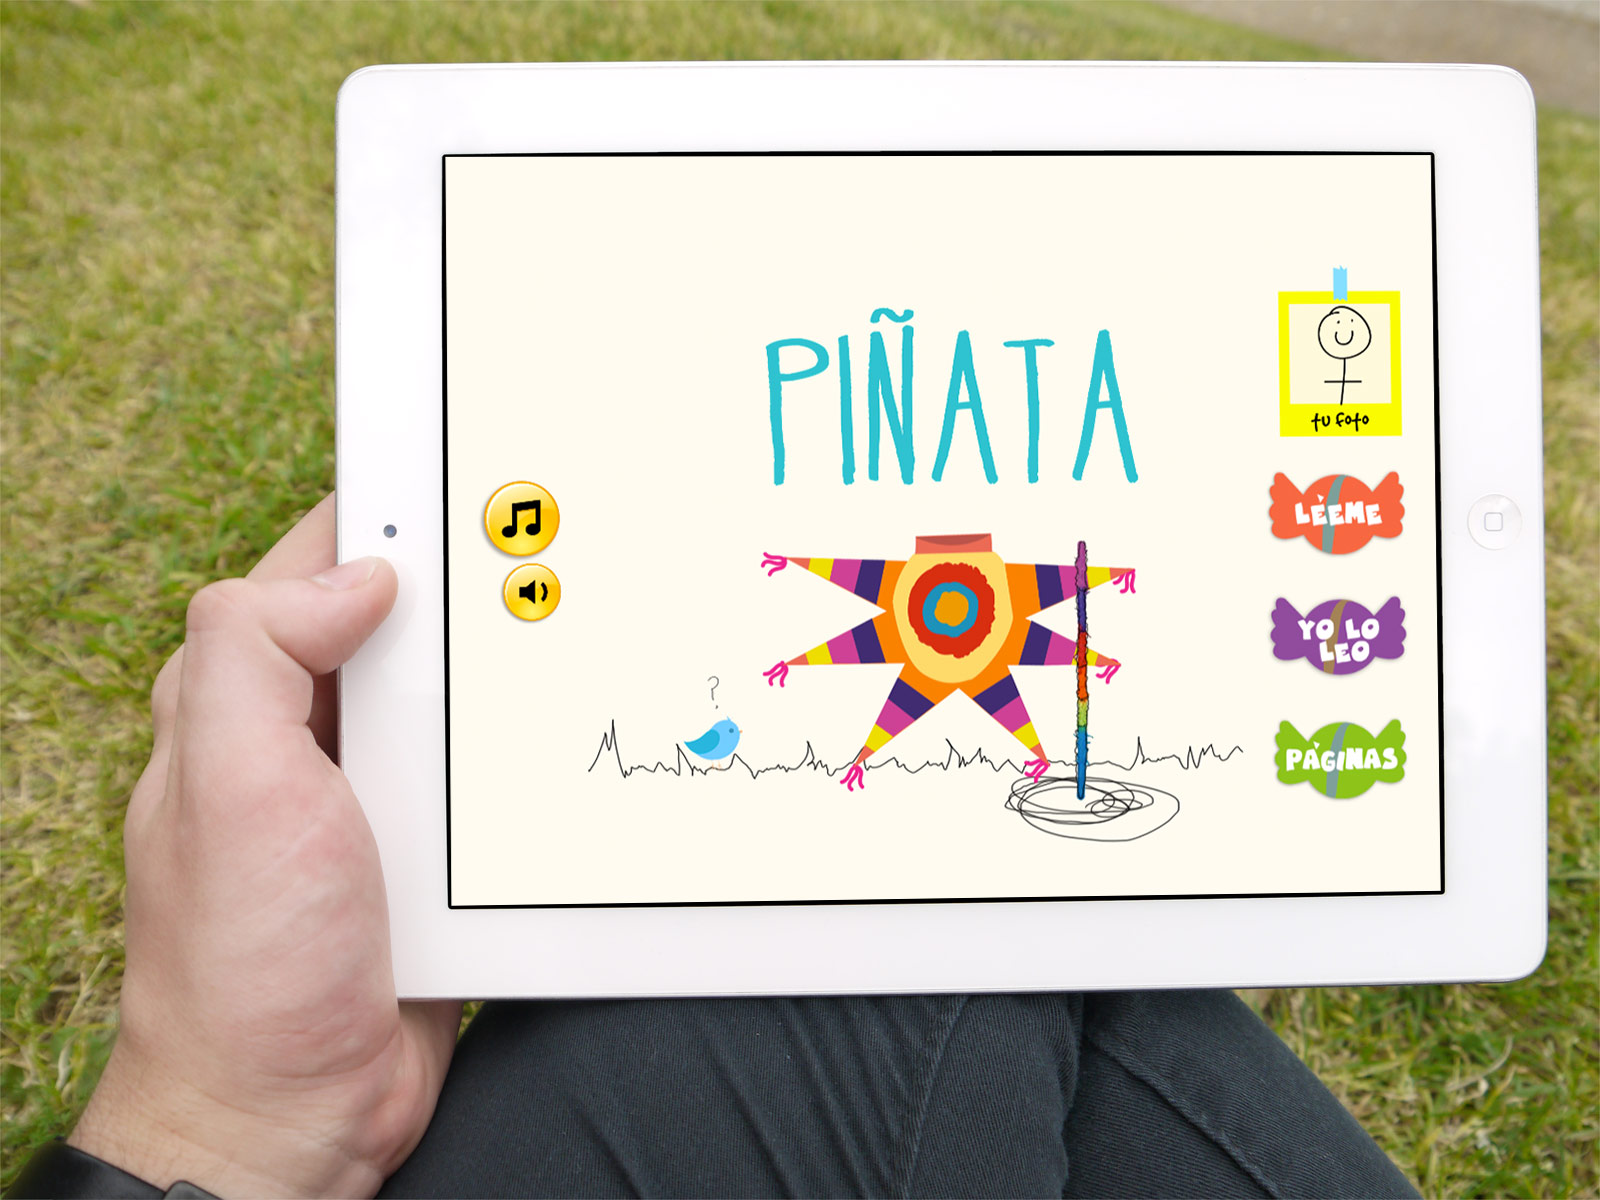
PRODUCT
The final stage of the process was recording and syncing the voice for the book. The story was recorded, edited and synchronized with the text so that the kids could read and listen to the story at the same time.
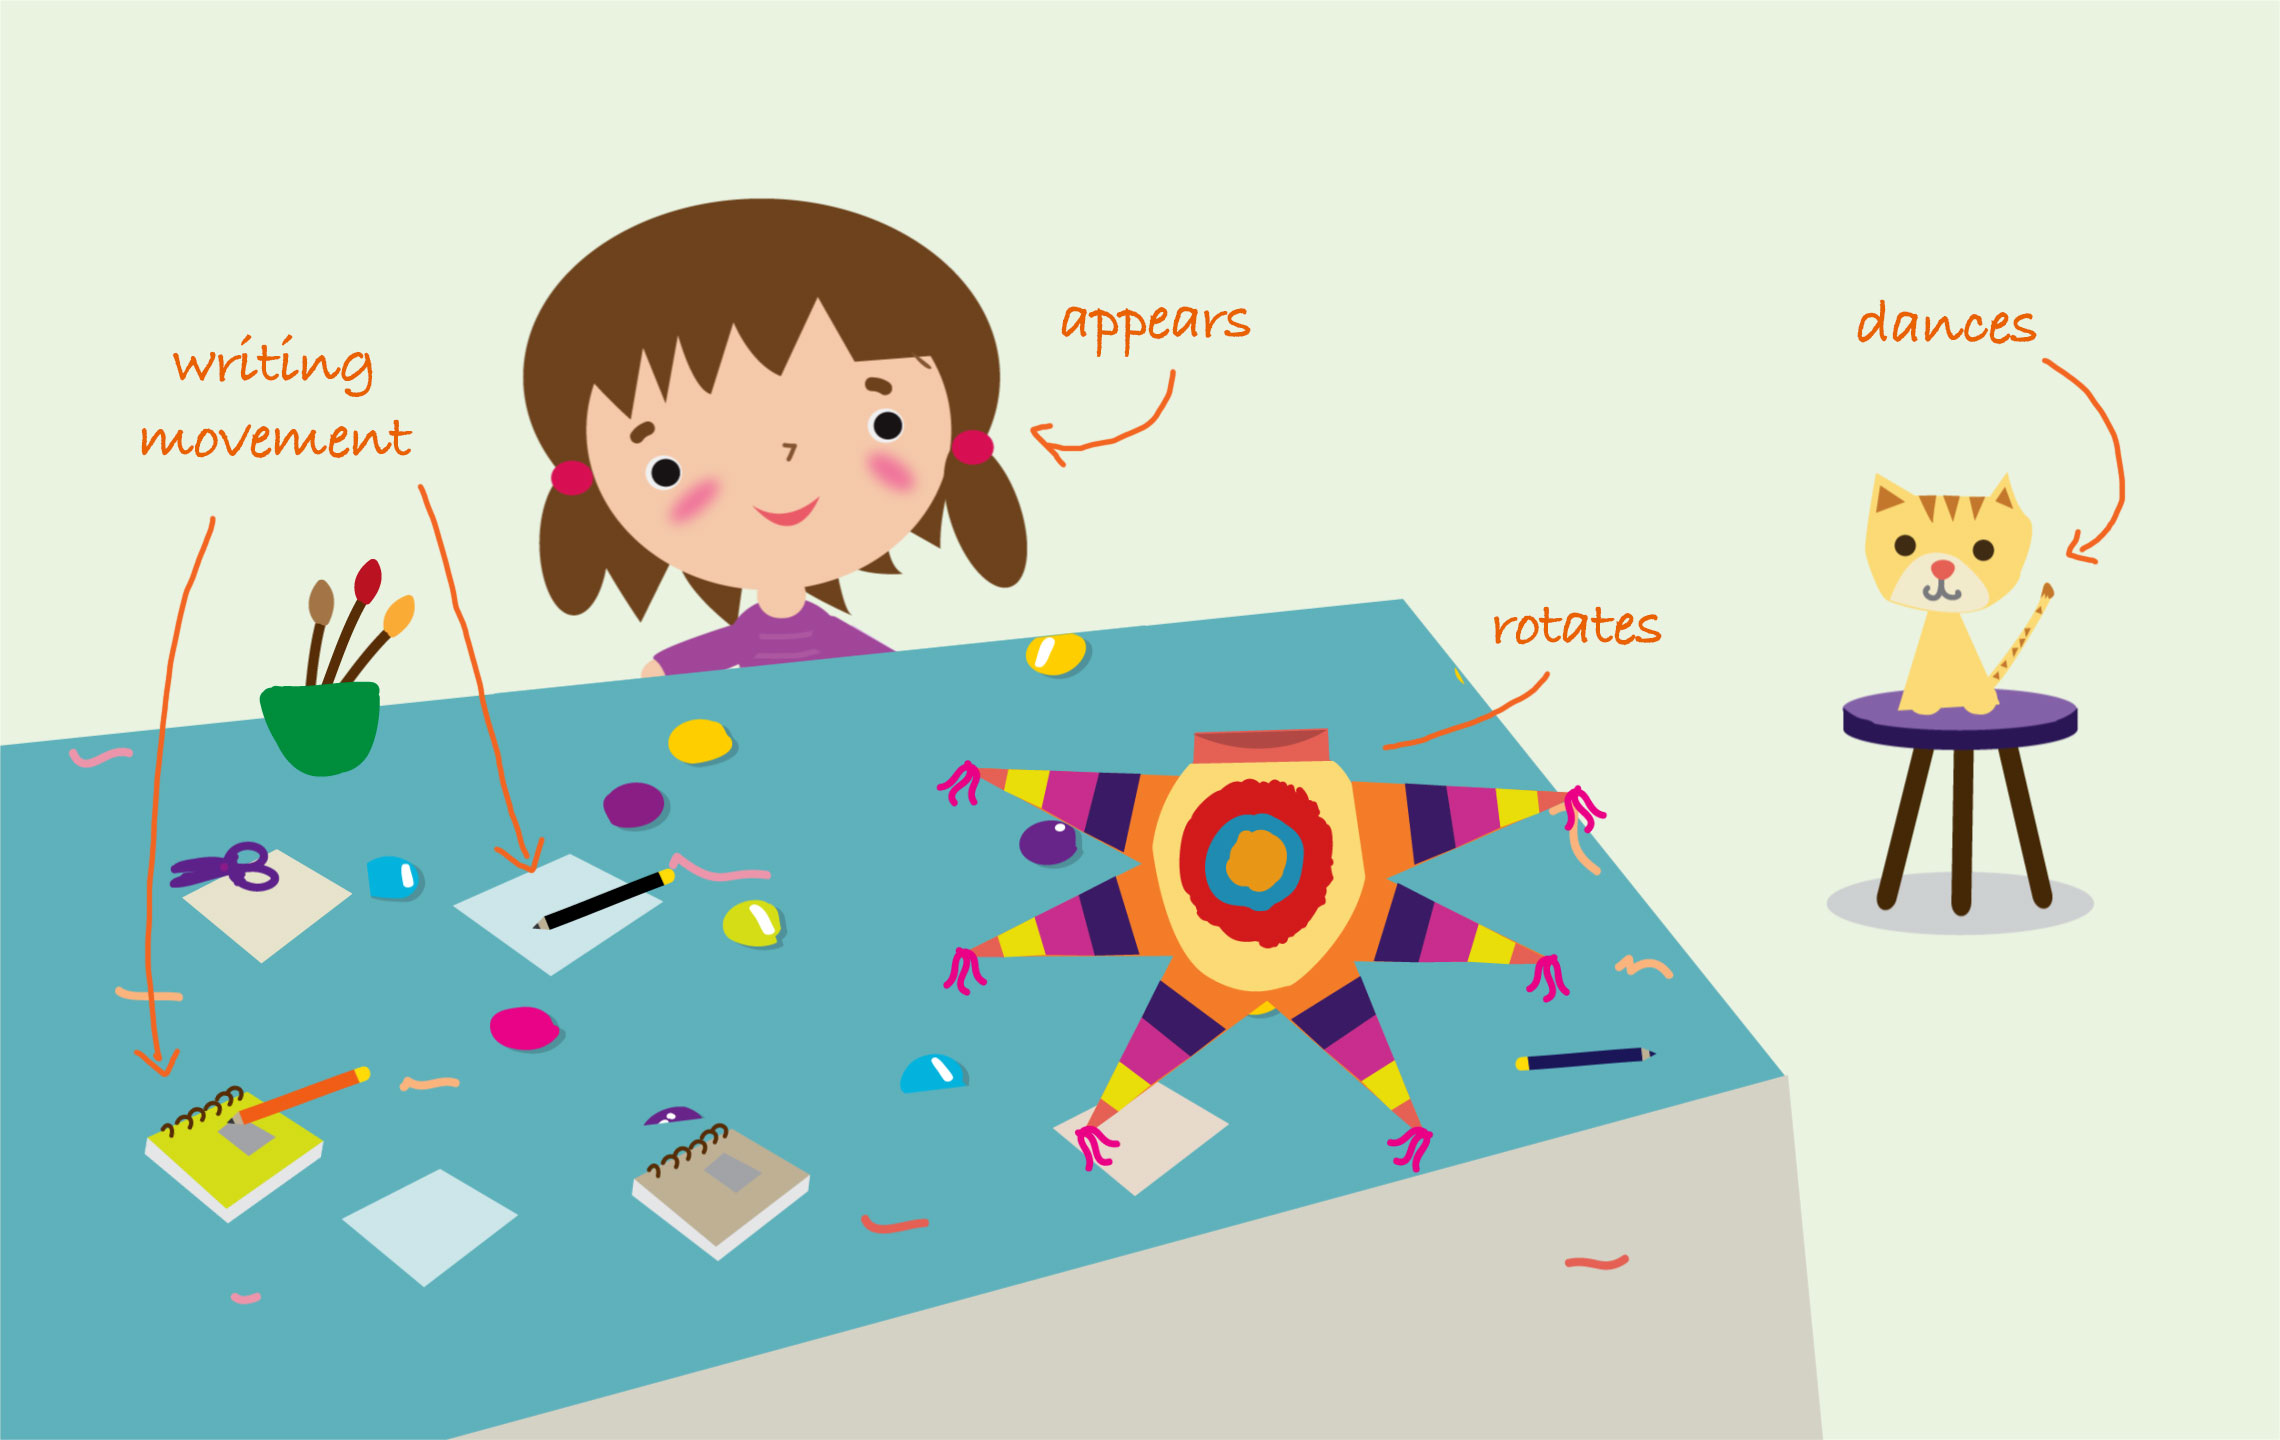
Although the motion process starts in After Effects. Nothing ships without code. Below are some examples of the interaction from the finished book.

RELEASE
At the end of the day, animating fun and delightful stories and interactions is not a simple process, but the payoff is priceless. Mi Piñata! was successfully released to the iTunes Store as a 12-page interactive book. This sure was one of the most fun and satisfying projects I have worked on.